

Though there are several mailing solution for self hosted mail server, but installation and configuration can be headache some times. MailCow is fully feature loaded mailing script based on Dovecot, Postfix, SoGo and other open source software. It’s not easy to install, but also provides a modern web user interface for user and server administration.
MailCow is open source project which means you don’t have to spend a penny from your pocket for the software. To learn more about MailCow you can read their official documentation.
Requirement for MailCow Server
- A domain name
- A VPS or Cloud with a Minimum of 6 GB RAM
I will using Contabo for demonstration as they do not ban port 25. I have prepared list of VPS provider which gives you open port 25.
- Recommended OS: Ubuntu 20.04
Initial DNS Setup
First of all you need to create few DNS records in order to start. They are as follows
| Type | Host | Value |
| A | Your IP address | |
| CNAME | autodiscover | mail.yourdomain.com |
| CNAME | autoconfig | mail.yourdomain.com |
| MX | @ | mail.yourdomain.com 10 |
Installation of MailCow
Before, you can actually install mailcow, you need to install docker and docker compose needed by mailcow.
Installation of Docker
I already have discussed installation of Docker on Ubuntu. All, you need is to follow that article to install docker and docker-compose, which is will also help you understand docker.
Install MailCow
First of all set the hostname
1 | root@mail:~# hostnamectl set-hostname mail.yourdomain.com |
Then install git , just in case it’s not installed. Then change working directory to opt directory and pull MailCow files from github.
1 2 3 | root@mail:~# apt install git -yroot@mail:~# cd /optroot@mail:/opt# git clone https://github.com/mailcow/mailcow-dockerized |
Now again change working directory.
1 | root@mail:/opt# cd mailcow-dockerized |
Finally execute the bin file and answer the question
1 2 3 4 5 6 7 8 9 10 11 12 | root@mail:/opt/mailcow-dockerized# ./generate_config.shPress enter to confirm the detected value '[value]' where applicable or enter a custom value.Mail server hostname (FQDN) - this is not your mail domain, but your mail servers hostname: mail.ingu.pwTimezone [Etc/UTC]:Generating snake-oil certificate...Generating a RSA private key...................................................................++++...............................................................................................................................................................................................++++writing new private key to 'data/assets/ssl-example/key.pem'-----Copying snake-oil certificate... |
You can also make changes in configuration of you like
1 | root@mail:/opt/mailcow-dockerized# nano mailcow.conf |
Next, pull MailCow docker image
1 2 3 4 5 6 7 8 9 10 11 12 13 14 15 16 17 18 19 20 21 22 | root@mail:/opt/mailcow-dockerized# docker-compose pullPulling unbound-mailcow ... donePulling mysql-mailcow ... donePulling redis-mailcow ... donePulling clamd-mailcow ... donePulling php-fpm-mailcow ... donePulling sogo-mailcow ... donePulling dovecot-mailcow ... donePulling rspamd-mailcow ... donePulling postfix-mailcow ... donePulling memcached-mailcow ... donePulling nginx-mailcow ... donePulling acme-mailcow ... donePulling netfilter-mailcow ... donePulling watchdog-mailcow ... donePulling dockerapi-mailcow ... donePulling solr-mailcow ... donePulling olefy-mailcow ... donePulling ejabberd-mailcow ... donePulling ofelia-mailcow ... donePulling ipv6nat-mailcow ... done |
Finally, run the compose.
1 2 3 4 5 6 7 8 9 10 11 12 13 14 15 16 17 18 19 20 21 22 23 24 25 26 27 28 29 30 31 32 33 34 35 36 | root@mail:/opt/mailcow-dockerized# docker-compose up -dCreating network "mailcowdockerized_mailcow-network" with driver "bridge"Creating volume "mailcowdockerized_vmail-vol-1" with default driverCreating volume "mailcowdockerized_vmail-index-vol-1" with default driverCreating volume "mailcowdockerized_mysql-vol-1" with default driverCreating volume "mailcowdockerized_mysql-socket-vol-1" with default driverCreating volume "mailcowdockerized_redis-vol-1" with default driverCreating volume "mailcowdockerized_rspamd-vol-1" with default driverCreating volume "mailcowdockerized_solr-vol-1" with default driverCreating volume "mailcowdockerized_postfix-vol-1" with default driverCreating volume "mailcowdockerized_crypt-vol-1" with default driverCreating volume "mailcowdockerized_sogo-web-vol-1" with default driverCreating volume "mailcowdockerized_sogo-userdata-backup-vol-1" with default driverCreating volume "mailcowdockerized_xmpp-vol-1" with default driverCreating volume "mailcowdockerized_xmpp-upload-vol-1" with default driverCreating mailcowdockerized_sogo-mailcow_1 ... doneCreating mailcowdockerized_olefy-mailcow_1 ... doneCreating mailcowdockerized_memcached-mailcow_1 ... doneCreating mailcowdockerized_clamd-mailcow_1 ... doneCreating mailcowdockerized_unbound-mailcow_1 ... doneCreating mailcowdockerized_watchdog-mailcow_1 ... doneCreating mailcowdockerized_dockerapi-mailcow_1 ... doneCreating mailcowdockerized_solr-mailcow_1 ... doneCreating mailcowdockerized_ejabberd-mailcow_1 ... doneCreating mailcowdockerized_redis-mailcow_1 ... doneCreating mailcowdockerized_mysql-mailcow_1 ... doneCreating mailcowdockerized_php-fpm-mailcow_1 ... doneCreating mailcowdockerized_postfix-mailcow_1 ... doneCreating mailcowdockerized_dovecot-mailcow_1 ... doneCreating mailcowdockerized_nginx-mailcow_1 ... doneCreating mailcowdockerized_ofelia-mailcow_1 ... doneCreating mailcowdockerized_netfilter-mailcow_1 ... doneCreating mailcowdockerized_rspamd-mailcow_1 ... doneCreating mailcowdockerized_acme-mailcow_1 ... doneCreating mailcowdockerized_ipv6nat-mailcow_1 ... done |
You might have to open port if firewall is running on your server. Run the following commands
1 | root@mail:~# sudo ufw allow 25,80,443,110,143,465,587,993,995/tcp |
Now go to browser and open https://mail.yourdomain.com with the default credentials admin + password moohoo.
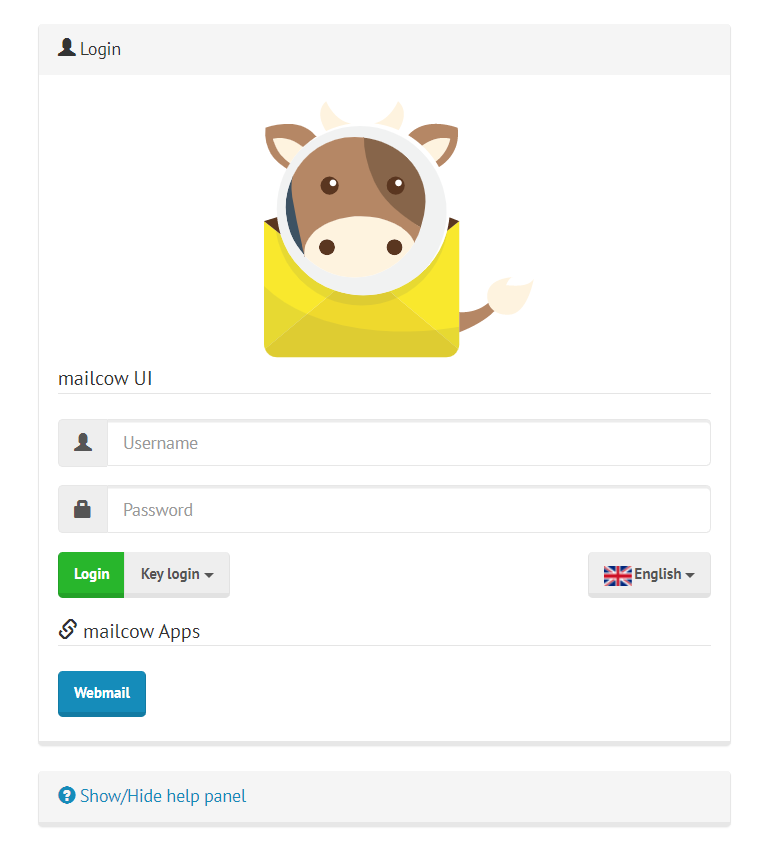
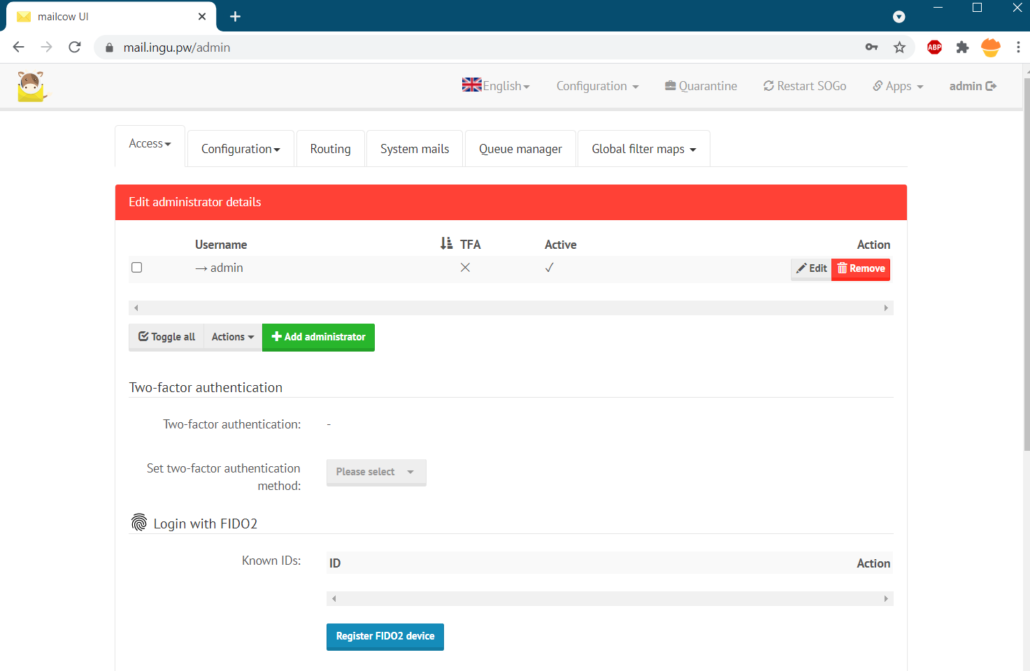
Inside admin dashboard make sure to change the password.
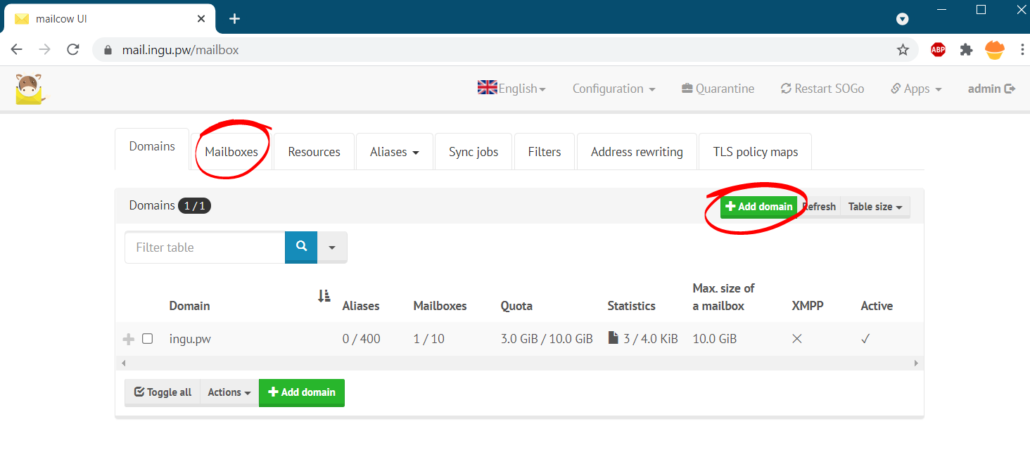
To add domain and user go to configuration in the top menu
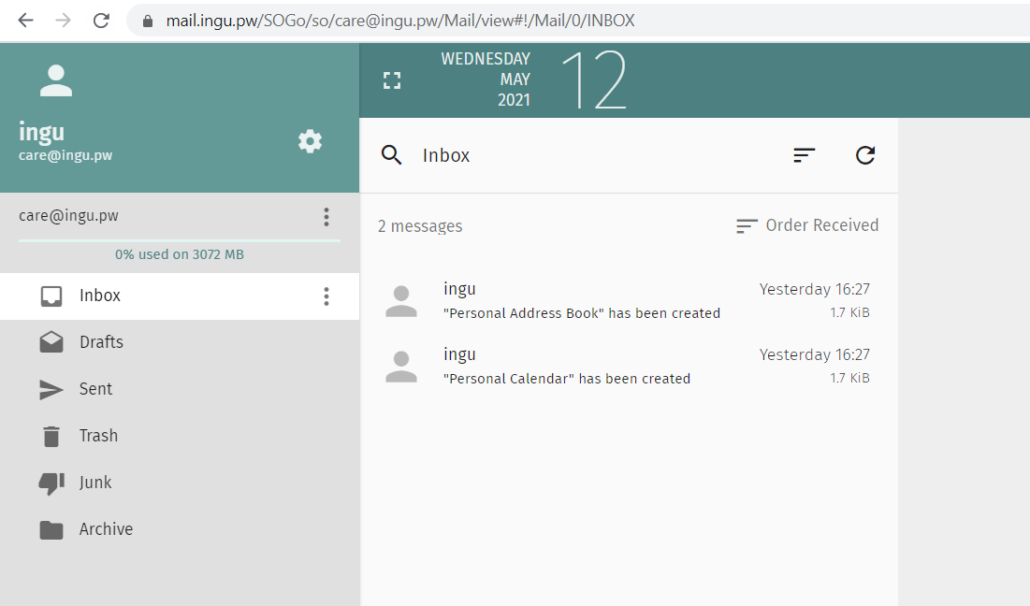
To access mailbox go to https://mail.yourdomain.com/sogo and enter username and password.
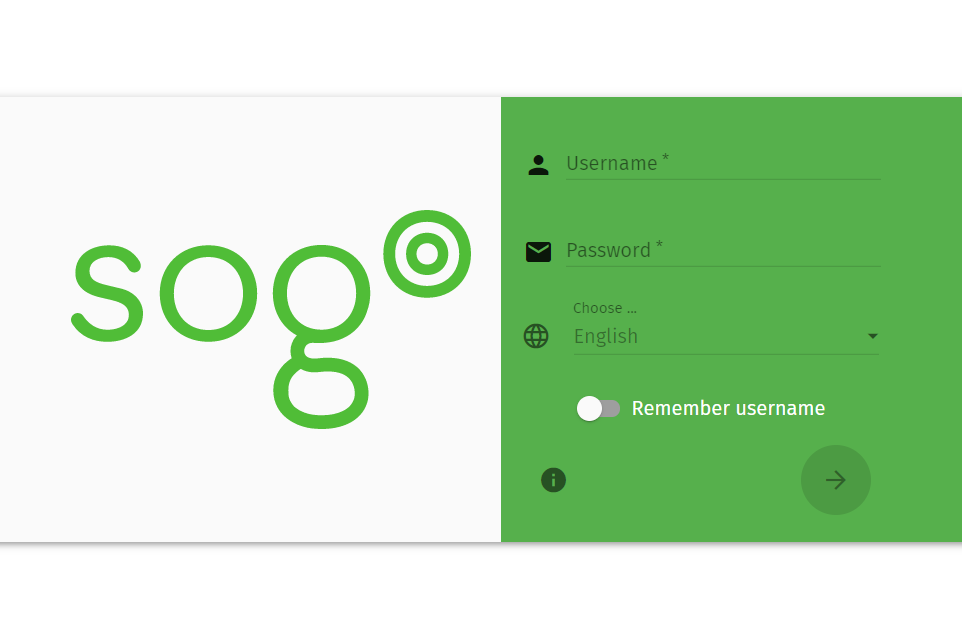
Next screen will be something like this.
Final DNS Configuration
You also need to setup DKIM, DMARC and SPF record to finish the installation.
| Type | Host | Value |
| TXT | @ | “v=spf1 mx a -all” |
| TXT | _dmarc | “v=DMARC1; p=reject; rua=mailto:[email protected]” |
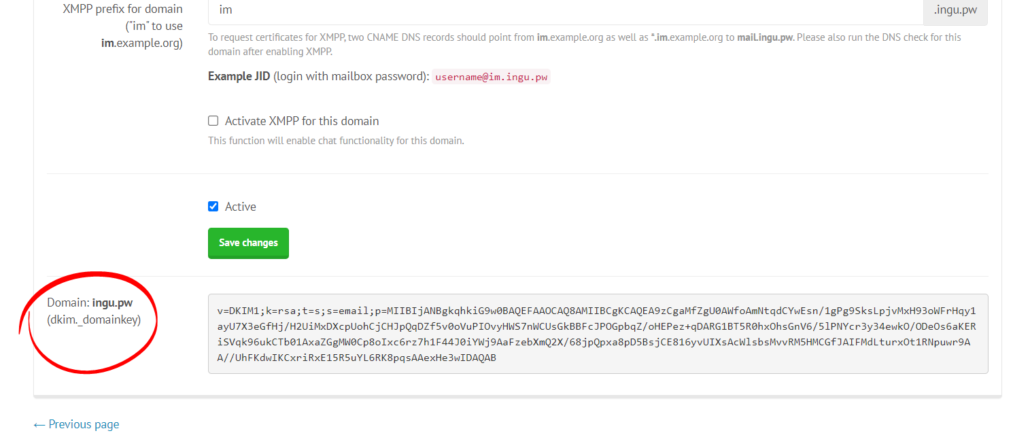
| TXT | dkim._domainkey | “v=DKIM1; k=rsa; t=s; s=email; p=…” |
To get the DKIM go to configuration>>domain>>edit as follows

At the bottom of next page, you should find DKIM key. Copy it and paste it in DKIM TXT record.
Conclusion
Installation of MailCow mail server is simple and with proper guidance any one can install it. In this tutorial, I have demonstrated all the steps and commands required to install MailCow.